August 2018 Meeting – Faux Raku Bowls
Our next guild meeting will be Saturday, August 11, 2018 from 1:30-4:30 p.m. in the Contemporary Arts Center at the fairgrounds.
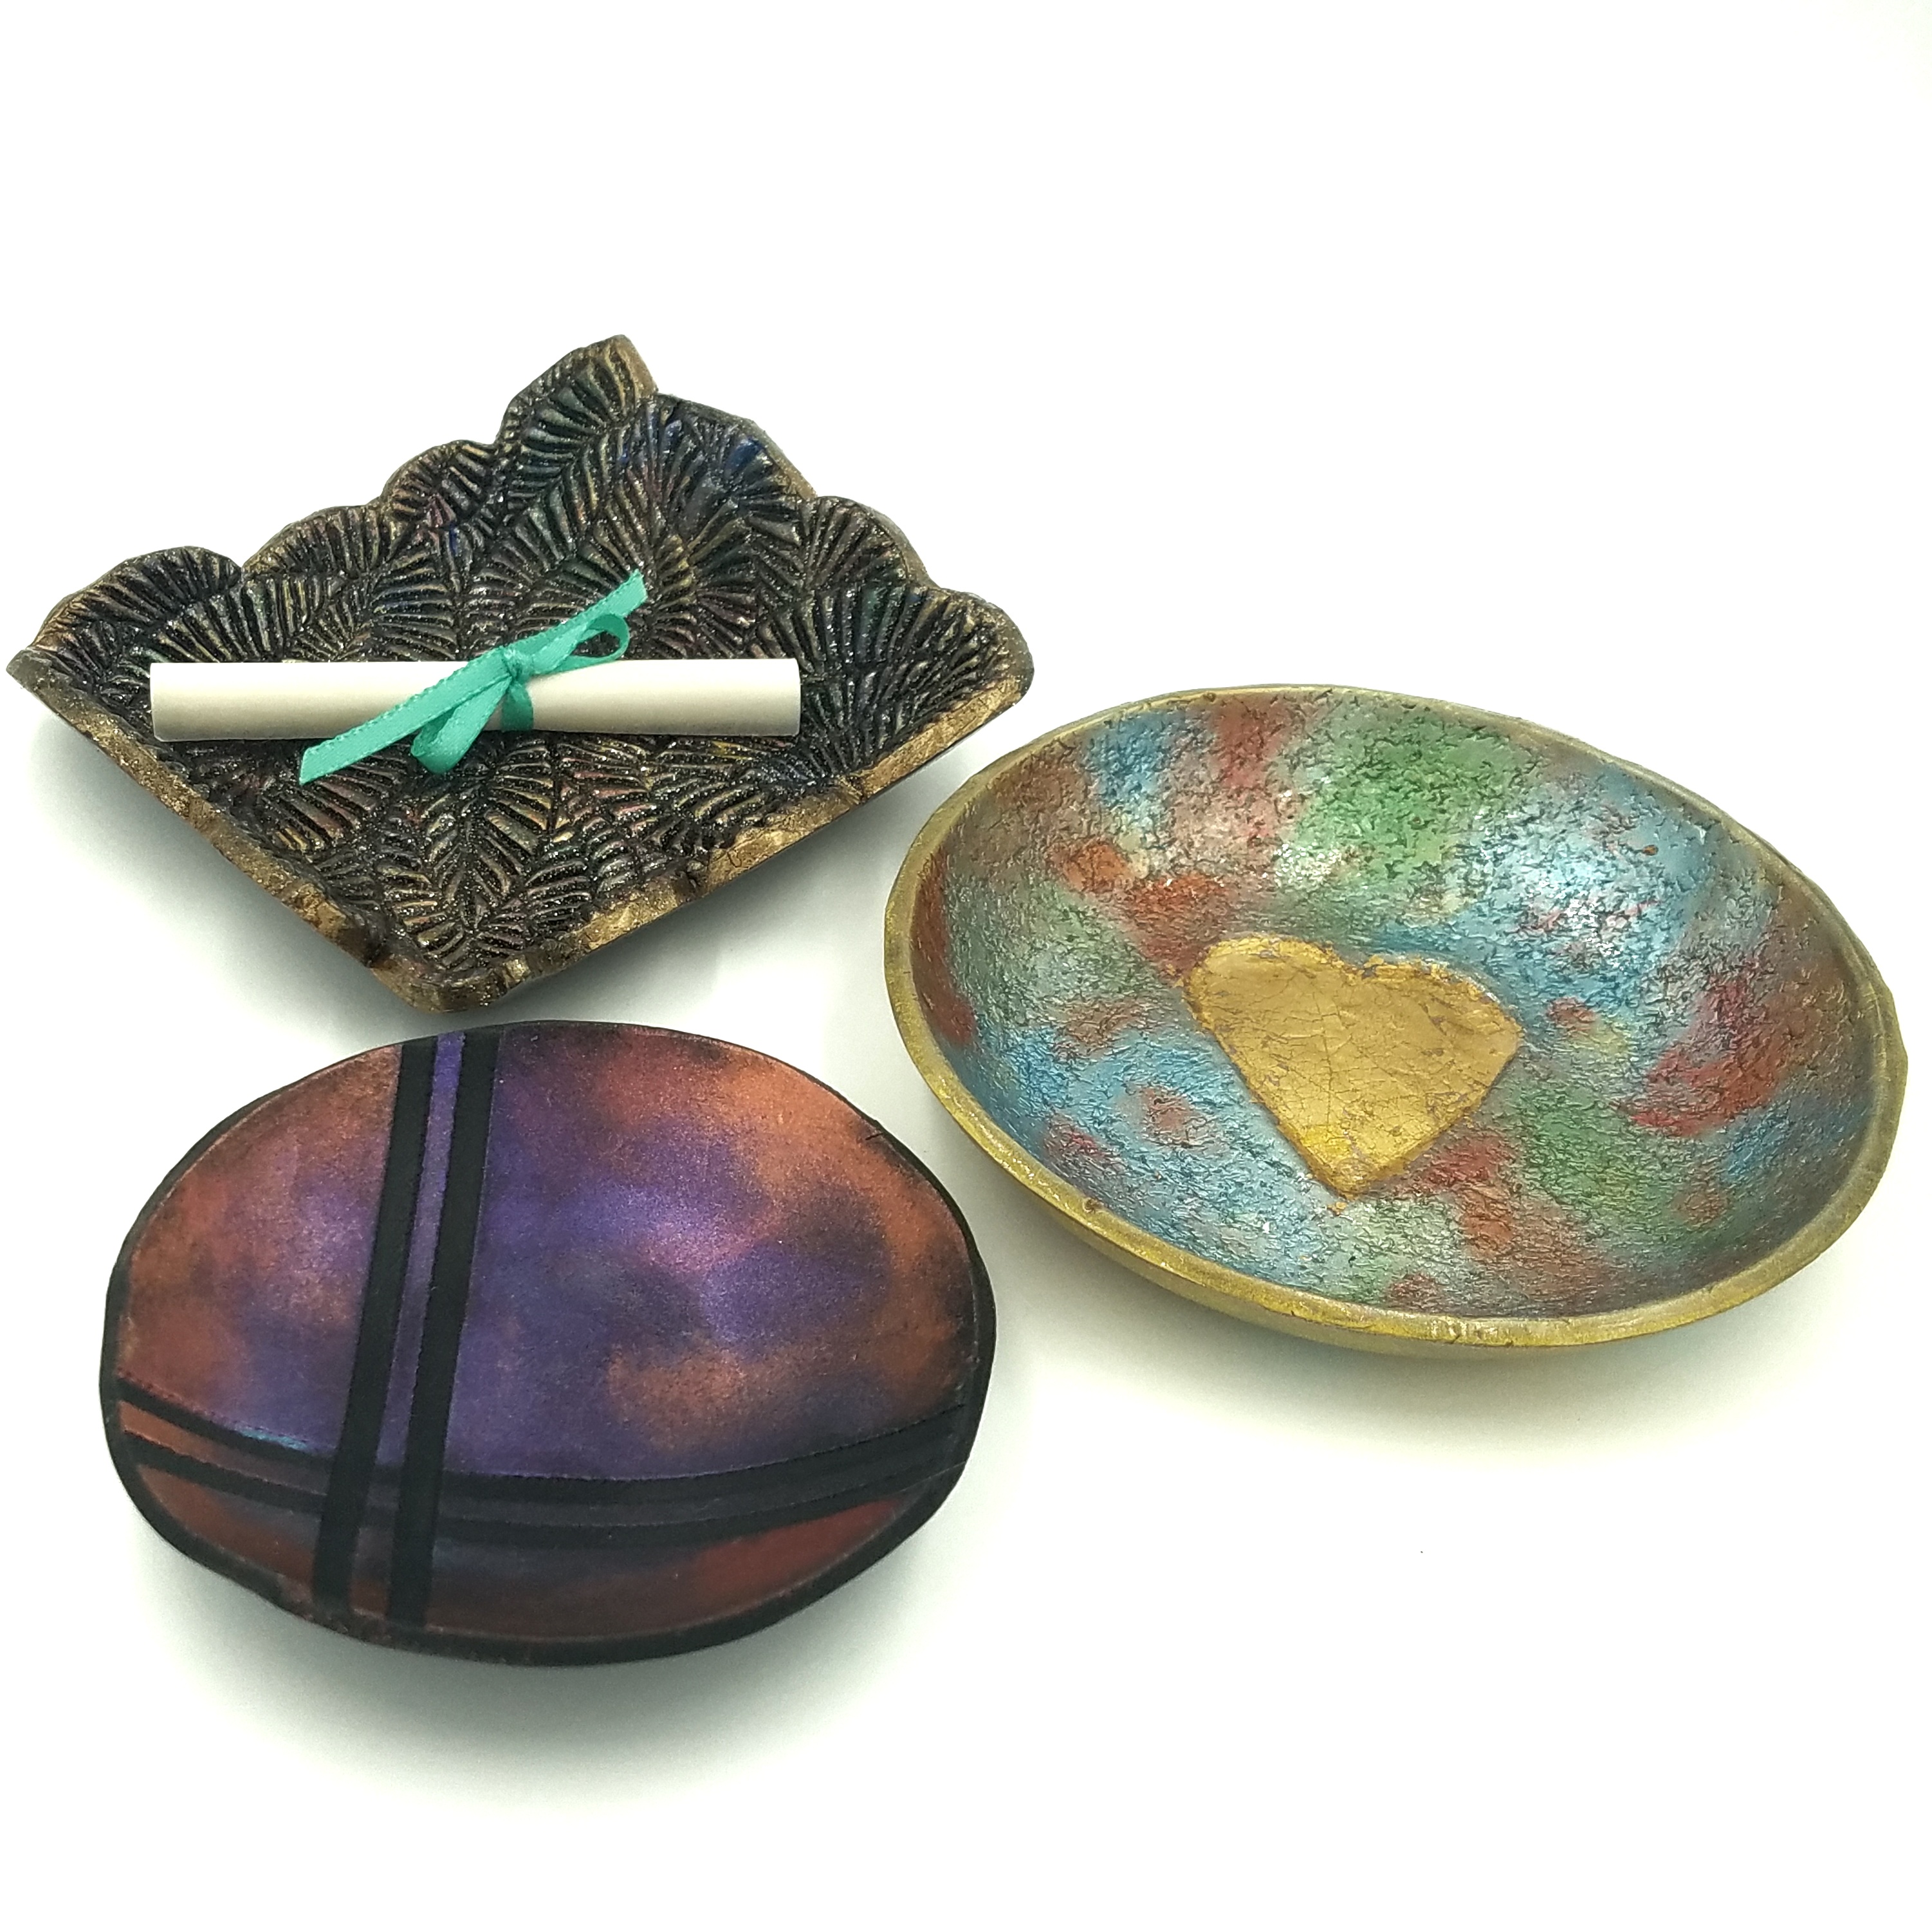
This month, Betty will be showing us how to make Faux Raku Bowls. She will show us some basic techniques for creating the raku effect as well as some variations. From there, let your imagination soar! Your finished bowl can be used as a Blessings Bowl, Trinket Dish, or any other decorative use. She will show us how to form the bowls both on the inside of a form as well as on the outside in the shape of your choice. The Faux Raku technique would also make some beautiful Bottles of Hope, if you prefer!
There is no one right or wrong way to do Faux Raku and the results are always a surprise!
Materials
2-4 oz. clay in your choice of color. Suggested colors are Premo Black, Premo Accents Graphite Pearl, Souffle Poppy Seed, or Souffle Cinnamon, but it’s not necessary to stick with these colors. The bowl with the heart in the center is made from Premo Accents Silver. White can also create some interesting effects. Souffle holds the mica powders particularly well, but any clay will work.
Mica powders such as PearlEx or Perfect Pearls. Traditional colors are green, blue, pink or red, and copper, but feel free to experiment with other colors. The PearlEx Duos can be a lot of fun. Betty will bring a variety of colors to share, as well.
Metal Leaf (optional)
Shape (can be prebaked clay) to use for center design (optional)
Tools
Pasta machine
Texture mat, sandpaper, or other means of creating texture
Brayer or acrylic rod
Clay blade
Exacto knife
Any other favorite tools
Bowl to use as form (shape and size is your choice… Betty will have some extras available to use)
Soft brush
Your imagination (feel free to Google raku pottery and look at the images that come up for inspiration)