December 2017 Meeting: Party Time!
Our next guild meeting will be Saturday, December 9, 2017 from 1:30-4:30 p.m. in the Contemporary Arts Center at the fairgrounds.
It’s December, and as usual we will not have a lesson this month – instead, we will have a pot-luck and a fun social time, as well as playing Dirty Santa (so much fun!).
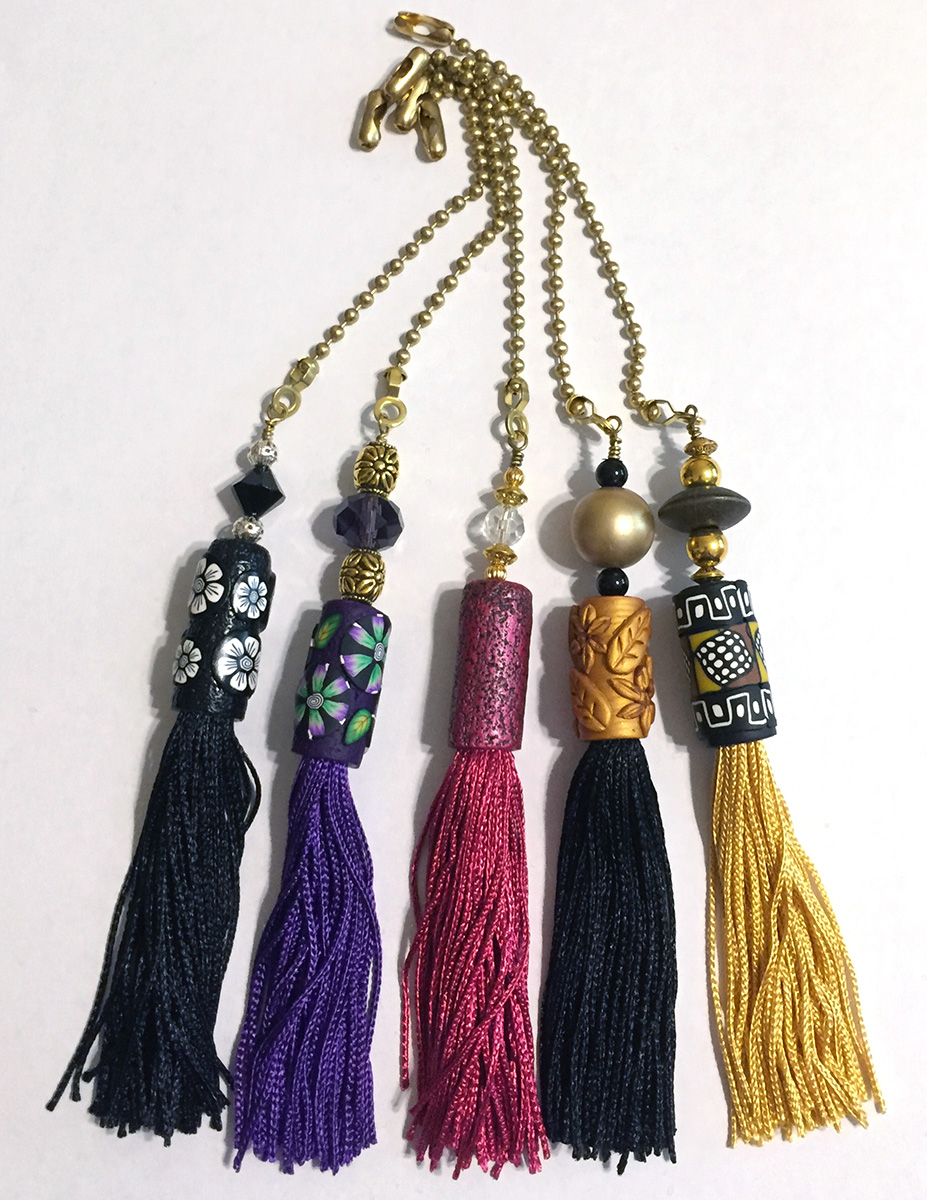
About Dirty Santa: REMEMBER the items in the Dirty Santa game are NOT gag gifts but should be something you’d like to receive. Everyone playing the game brings a hand-crafted polymer item. An item using a technique learned this past year or one you just enjoyed making and sharing. Playing Dirty Santa is optional – but please, please do bring an item. It is so much more fun with many participants, we had such a good time last year.
I’m reposting the rules that Tom has adapted for our Dirty Santa game:
How to Play Dirty Santa
Everyone playing the game brings a hand-crafted polymer item. Sometimes an item using a technique learned this past year or one you just enjoyed making and sharing. Please, please bring an item. It is so much more fun with many participants.
VARIATION: Since we will be showing off our gifts during Show & Tell, I will bring gift bags to mask the items for the game. Just to keep it in the spirit of Dirty Santa.
Numbers are written on pieces of paper for every gift and placed in a basket, bowl or hat.
Each person draws a number. Getting a higher number is actually better because you will have more chosen gifts to choose from.
The person with #1 picks a gift to open from the array of gift bags. The person with #2 can choose to take another bag or steal the gift from #1. If a gift is stolen, the person who had it then steals from someone else or picks another gift to open. Gifts stolen cannot be directly stolen back. They must be in the pool of opened and unopened gifts for at least one turn.
The game continues like this until everyone takes a turn select an item or stealing an item. The last person to go can steal from anyone in the game or select the remaining item.
NOTICE: If the first person has not had their selection stolen during the game, they may steal a gift from anyone else. This may open a new round of stealing, but that’s the nature of Dirty Santa.
Once a gift is stolen three times, it is retired from the game.


